LED Lighting With Art-Net / Touch Designer

For a project that will be going live in Miami for a Unilever client its going to require multiple LED strips to all be controlled individually from Touch designer. Having only briefly used touch designer in the past I have been working on some experiments to link Touch designer to an Art Net controller to control the individual colours of multiple LED strips.

The complicated part when working with LED strips and Art Net is remembering that Art net is still using the base DMX logic at its core. So in order to control an LED strip with 10 pixels in, requires 30 DMX channels. 1 channel for each Red , Green and Blue colour of the pixel. Added to the complexity is that DMX is limited to 512 channels in what is known as a universe. So when designing any type of installation the number of LED pixels in a strip can only max out at 170 pixels before going into the next universe. This meant careful calculations when designing the final environment to make sure sure we didn’t exceed this number in any strip to make the Touch designer project simple to build and easy to adjust, without the need to split LEDs across universes.

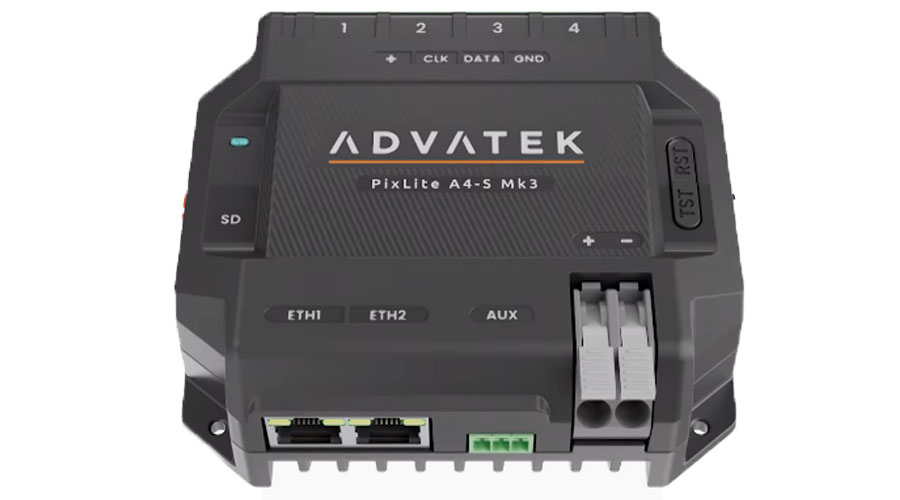
During this testing phase it was clear that the cheap Art Net controllers just wouldn’t be reliable enough or provide enough functionality. After investigation the Advatek controller shown at the bottom was purchased. This is light years ahead of anything else and provided a Network interface to control and configure the device as well as inbuilt testing functions. Making debugging and setup of the final installation far easier.
LED Lighting ARTNET
LED Lighting ARTNET

LED Lighting ArtNET / XBox Controller

I have an up coming project that’s going to require me to control quite a few LED lighting strips via ART NET. Artnet is an advanced form of DMX controller, controlled via a network and gives far more control of LED strips. It can handle controlling 1000’s of individual pixels over a single network interface.
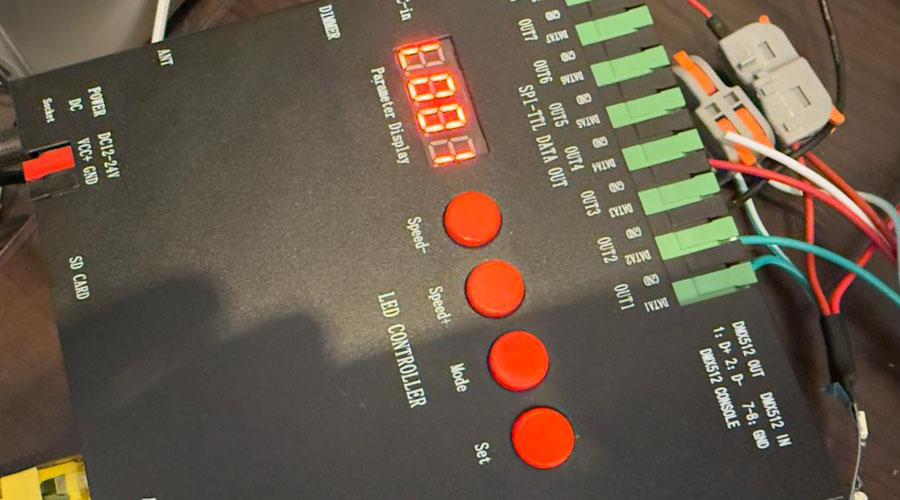
Having never really used this format I purchased a simple Art Net to pixel controller to experiment with. After some time exploring the very simple manual that came with it. I found using the Q lite software as an interface was the best way to communicate with it for simple test.
Along with this I found it was possible to hook up a wireless X box controller as an interface to the Q lite software. This will enable me to demonstrate different patterns and effects to the designers to show the capabilities of Art Net and allow them to make decisions on the final look with ease.

USB Arcade Controller Lighting

Getting some research completed on USB Arcade controllers for an up coming project for Red Bull. The simple prototype below is using an off the shelf USB joystick interface to connect some simple arcade style buttons to the PC. The USB controller simply acts like a joystick interface so very simple plug an play. For the final project though we will be building a complete arcade machine, so I wanted to experiment with lighting around the buttons.
The ring light above the first button was a quick test to see what type of effects could be achieved using an Art Net interface. These tests can then be fed back to the designers before going into full scale production.

Car Parking Proximity Sensor

A small personal project shown below. I have an apartment in Spain with underground parking. While I don’t use the parking myself it was brought to my attention that getting in and out of the car park is very tricky due to a sharp turn to enter it. After looking online I was surprised to find that there is no simple device on the market that uses a proximity sensor with some lights to show how close your getting to it.

I decided to make one myself using a water proof proximity sensor and a simple water proof lighting strip. All of this is linked to a very simple Arduino nano controller, soldered and hot glued for protection from the elements. The video below show the device working as required, however with any device like this that needs to lie outside for extended periods of time I’m now looking into way to power it. Tests with a solar charging power pack are producing results of up to 6 days. But ideally I want this to last months, so more work needed before I take it out to Spain for real life testing.

DMX controllers and Unity

Been experimenting a lot with Using DMX controllers and linking them to Unity projects. I knew it was definitely possible as I’ve seen and worked on a project that controlled a DMX fan through the use of an Enttec USB to DMX converter.
I wanted to see if it was possible to control a simple DMX LED lighting controller through the same Enttec USB hub. After experimenting for quite a while I managed to get the 2 devices to communicate with each other with the help of a very custom cable I had to make to turn a 5pin DMX plug into the bare wire Phoenix connectors on the controller. After a bit more experimenting I managed to get the Unity Open DMX framework to talk directly to the LED controller as well. Mission completed I can now get any unity projects to have nice light display synced in time to anything I’m controlling in Unity.

Dog Tracker Version 2

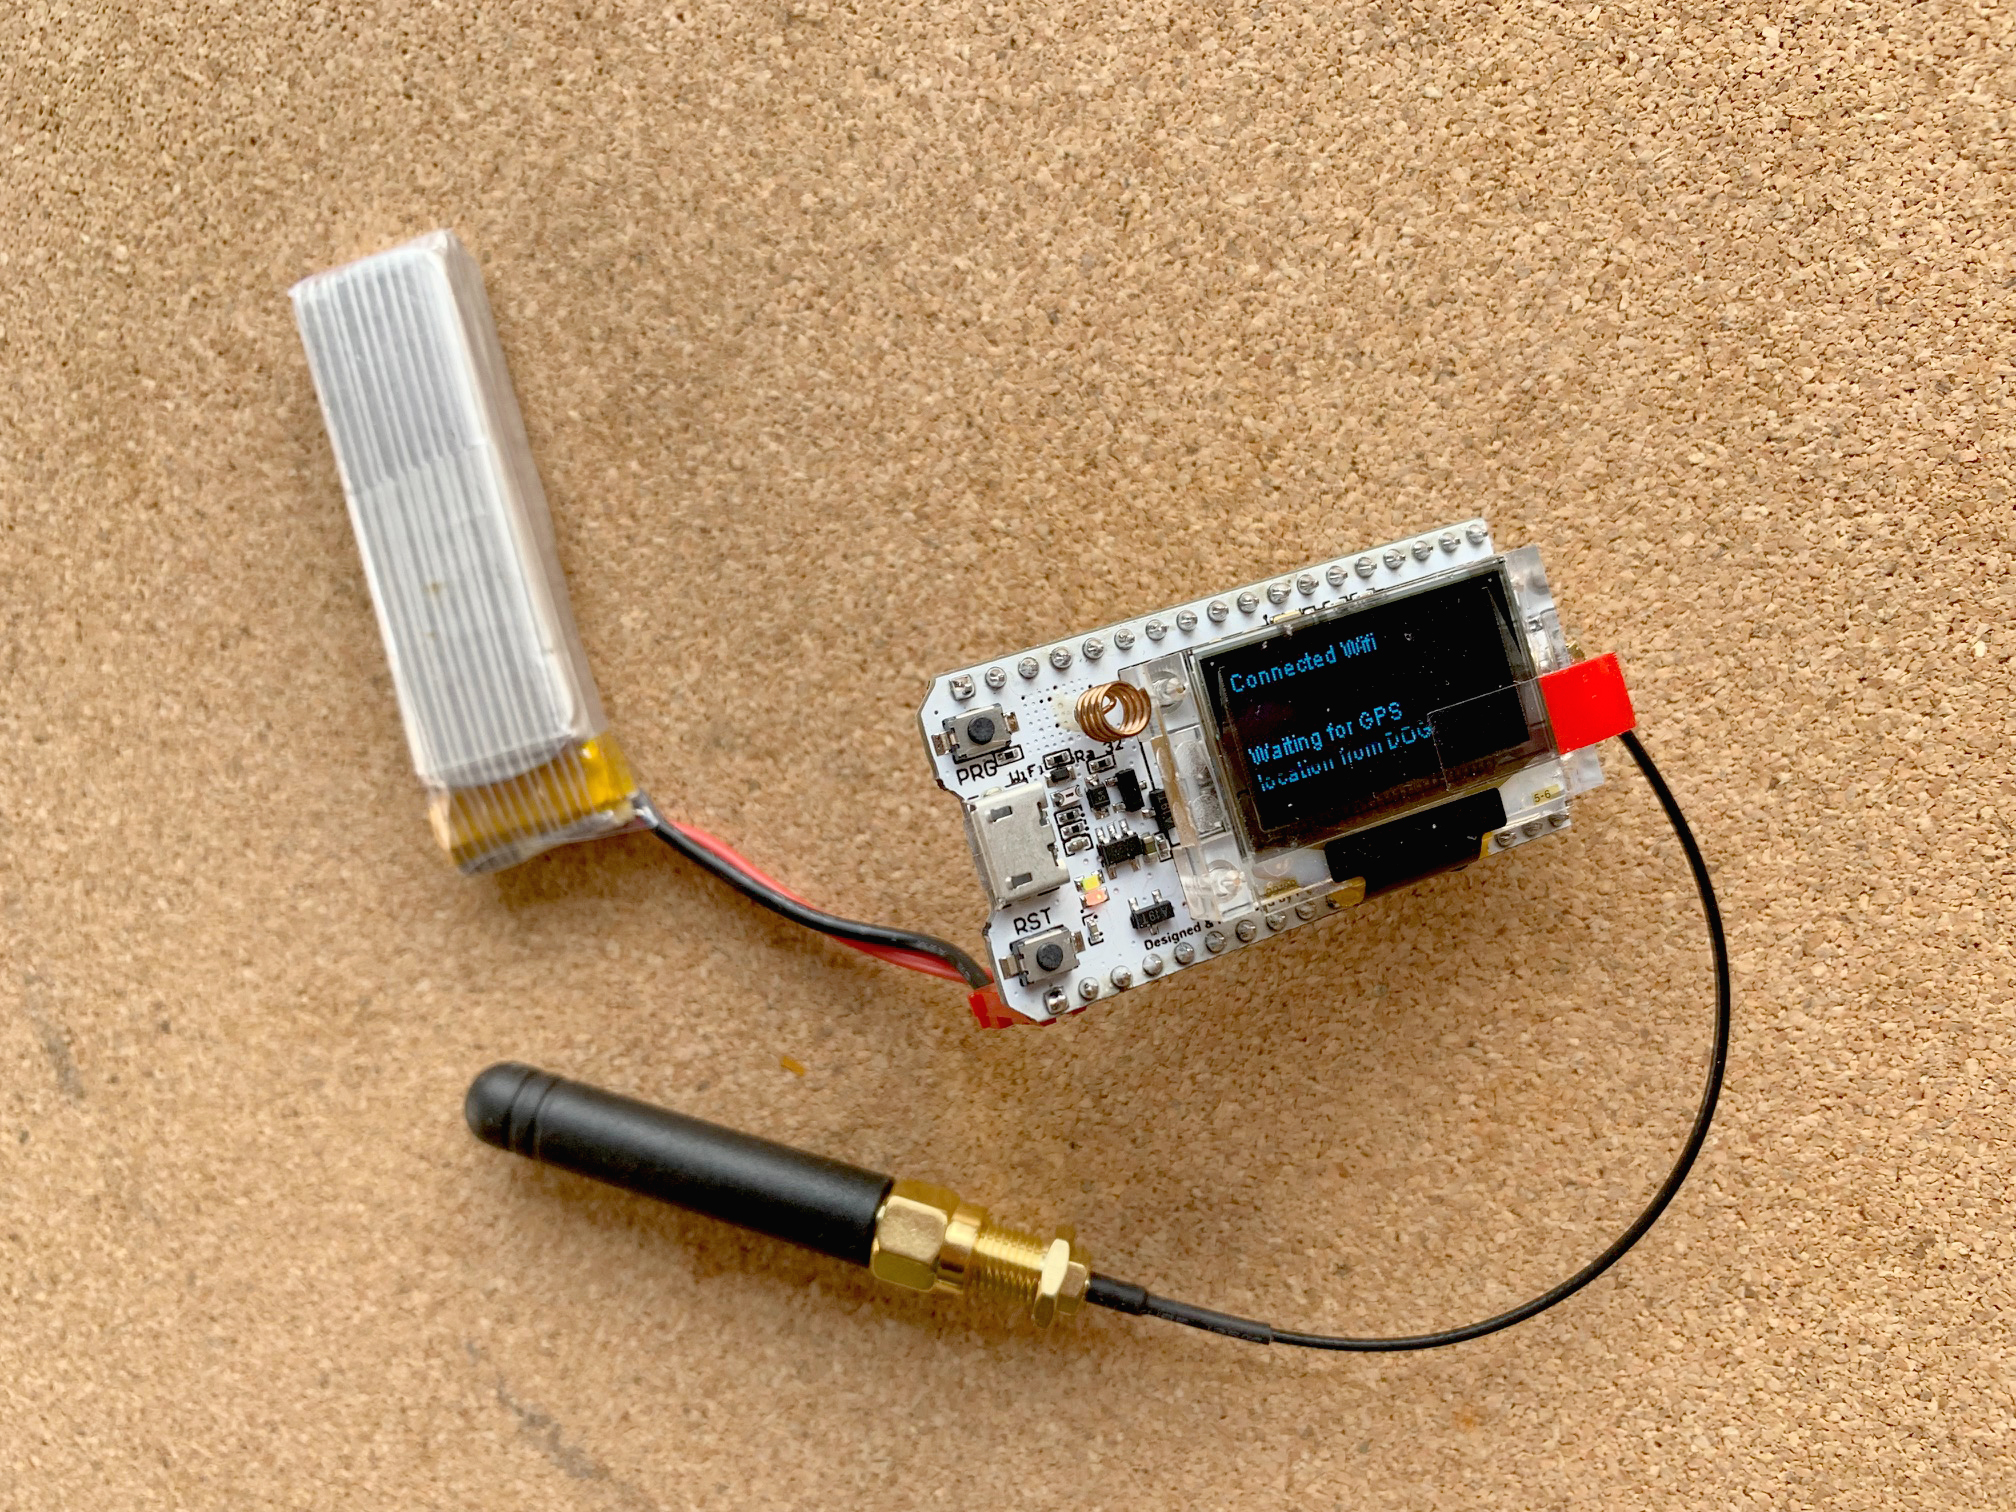
It’s been a while since I’ve visited this project, but I’ve discovered that the Lora chips I was using are now being fully integrated into the ESP8266 Arduino boards. There even producing ones that have an OLED screen installed as shown below.

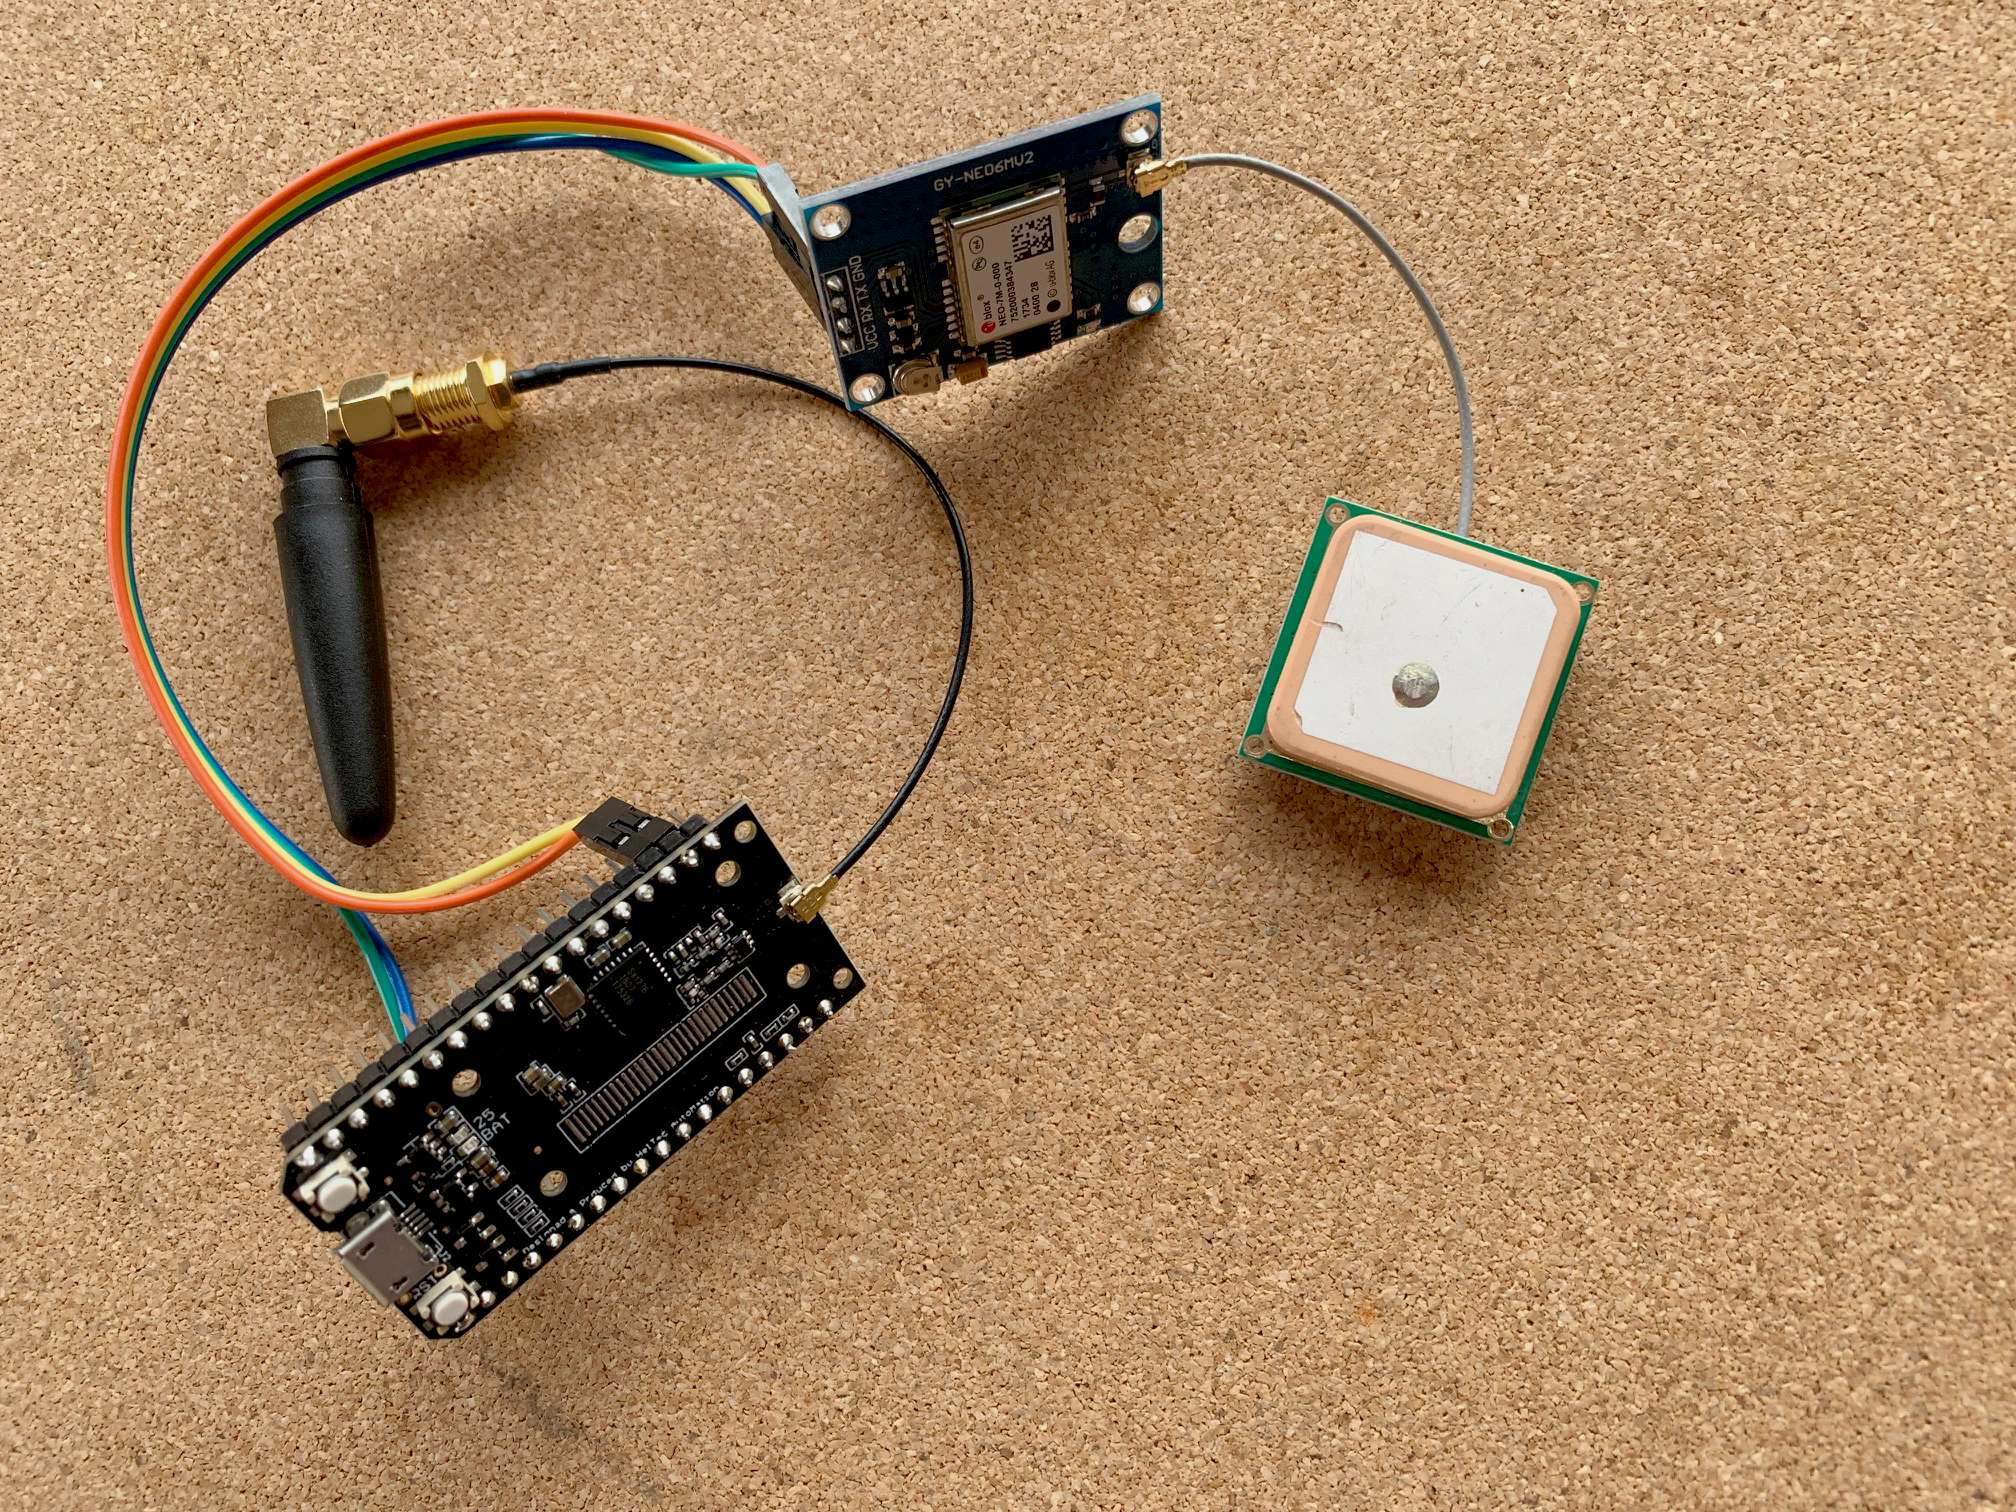
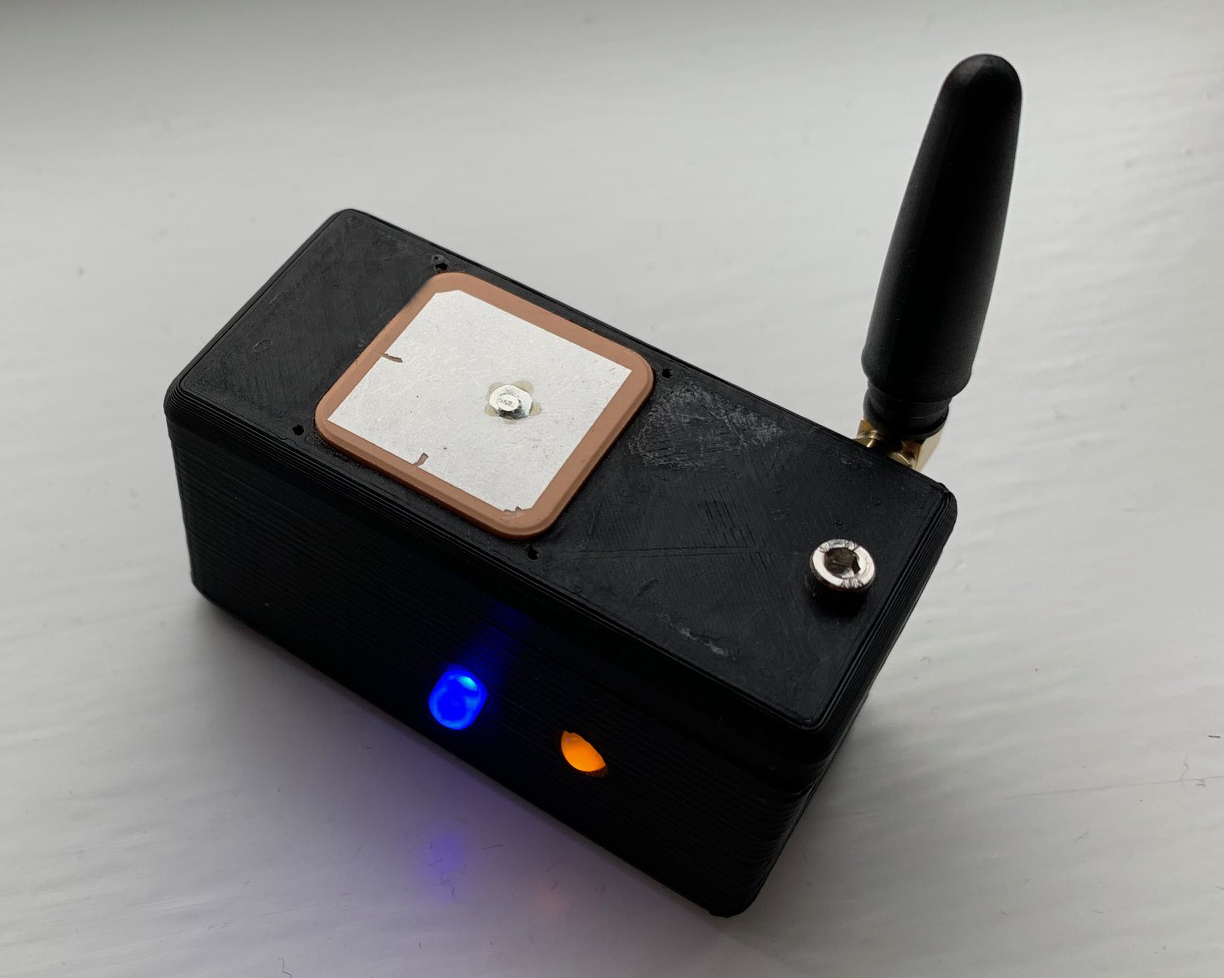
This now means I am able to reduced the size of the tracker considerable. I’ve done away with the custom printed circuit board and just gone with some simple wires soldered straight to the individual components. The result is below, a simple ESP8266 chip, no OLED on this one, just a GPS receiver as this will act as the tracking unity for the DOG. It will transmit the signal over LORA back to the chip above.

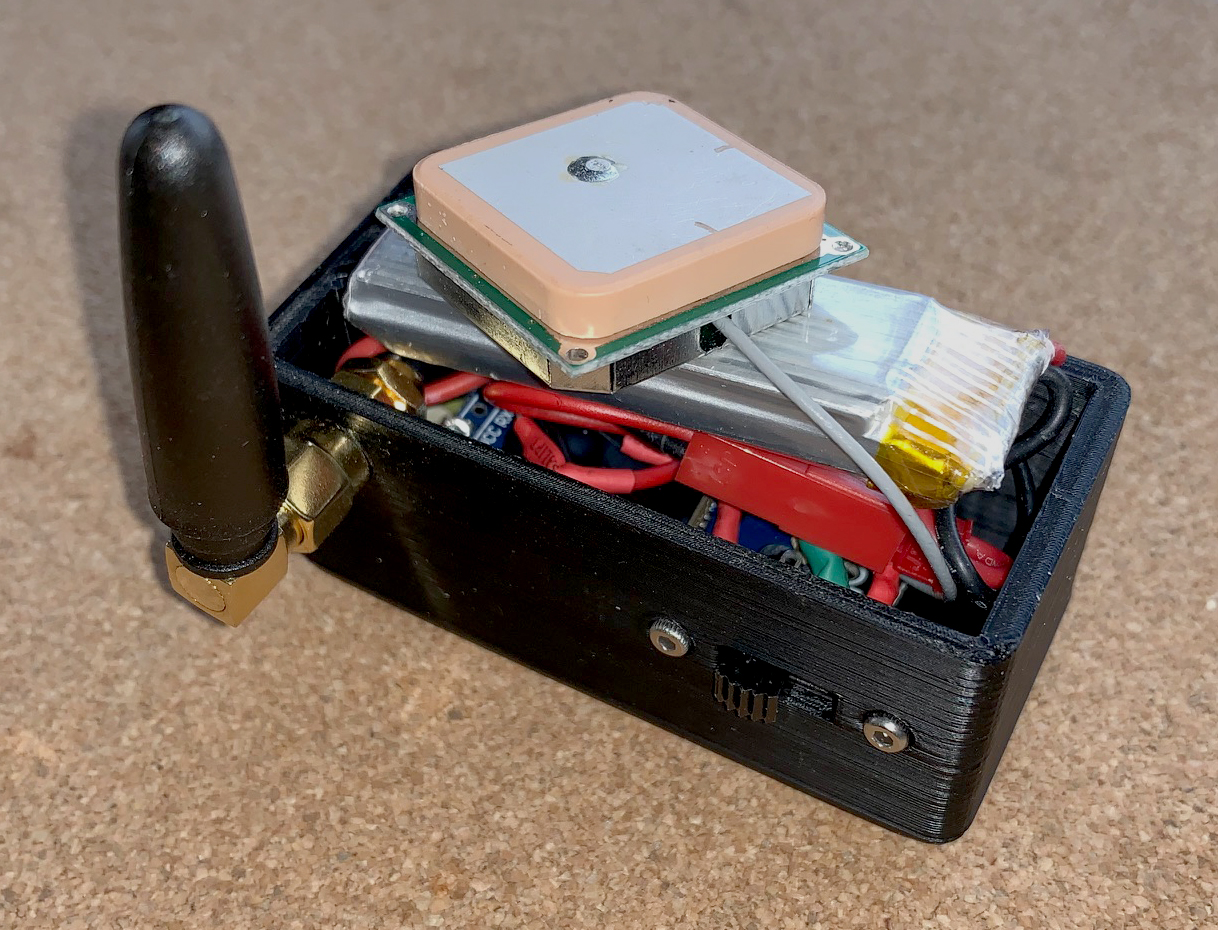
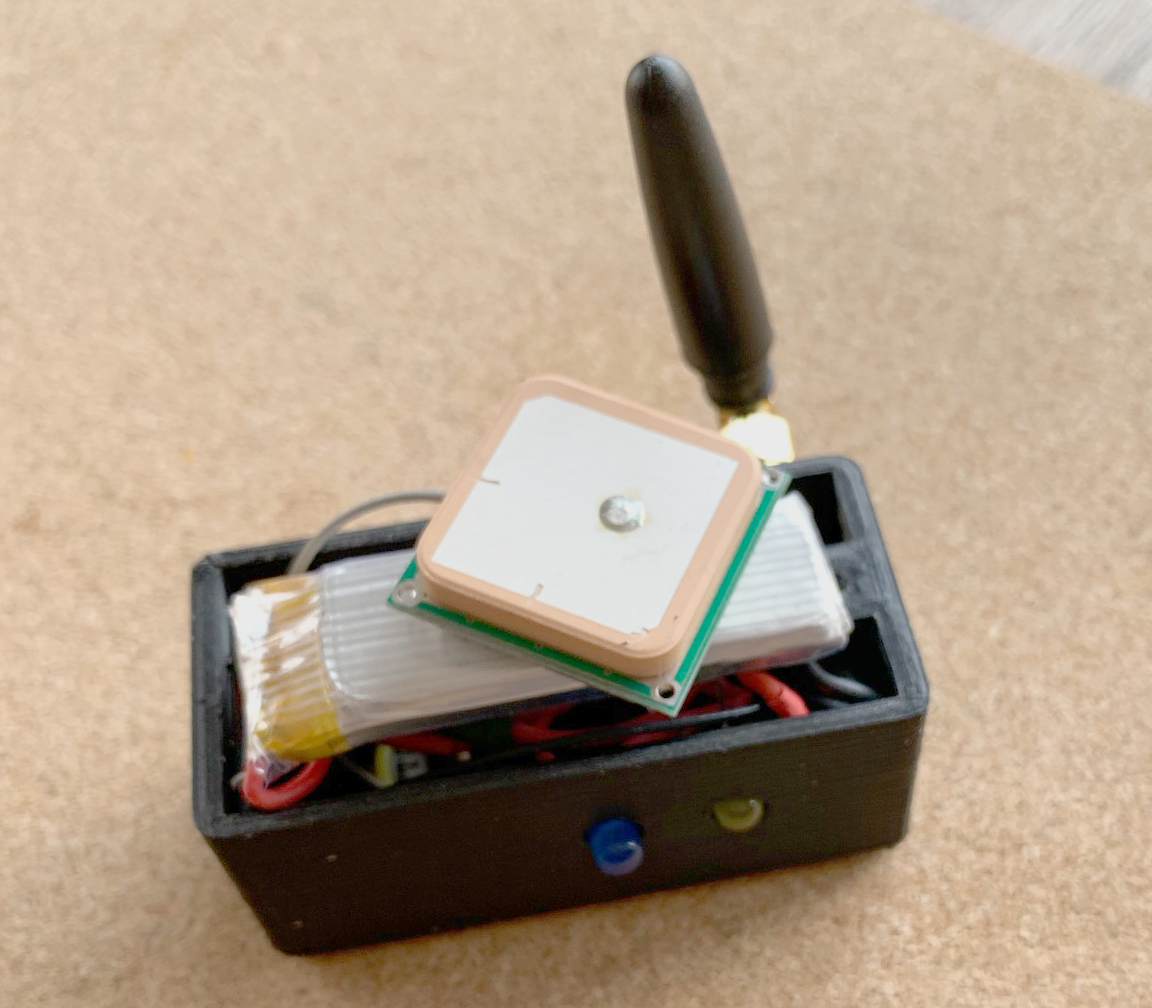
The unit will also include 2 LED lights for showing power and also when a GPS signal is received as well as as simple on/off switch. I’ve house the components in a 3D printed box. The work in progress is below.

dog Tracker Housing

Just running a few test to see how long the unity will last and how far the range of the LORA signal will reach. But first tests are promising with the signal reaching at least half a mile through some buildings, so should reach much longer out in the open. The unit has been on for 6 hours so far as well so battery life is also looking promising.

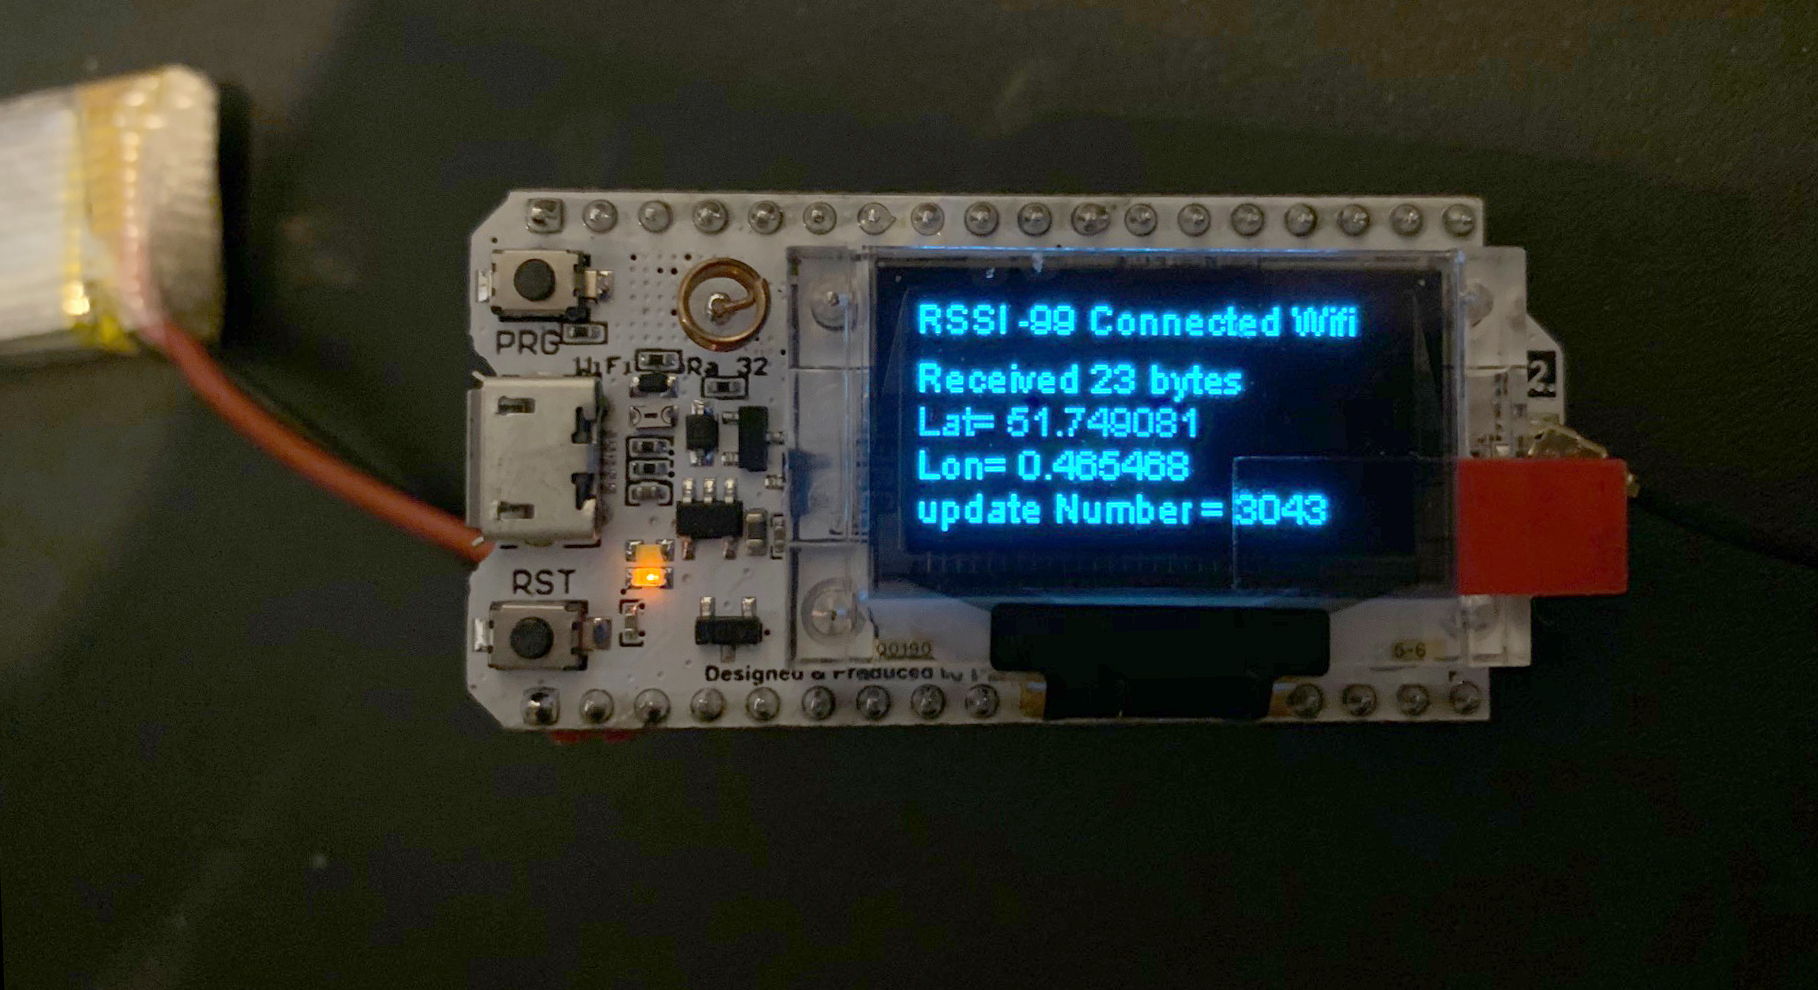
I still need to work on the housing for the receiver, but it will only need to house a battery and Lora Chip. As you can see from the image below though it’s receiving the GPS location data fine.

dog tracker receiver

Its also connected to WiFi so it transmits the data via a web service to store the last location over the Dog in a database. Out and about it will use a persons phone as a personal hot spot to send the data to the cloud. Then a simple page like this (Link to Dog tracker Map) can be viewed to see where the dog is.


Scape.io Hacakathon – 1st Place

Had the chance to work with a new startup Scape.io at a hackathon over the weekend. Great chance to try out there image based location service. By using the phone camera image alone and there latest SDK, it can lookup your location (all be it only in a small test area at the moment) down to the centimetre. I along with my design college from Inition create an app in the weekend. It uses the Scape SDK to plot out an area to land a drone. Ideal for when drone deliveries are a big thing from the likes of Amazon. After all who wants a drone delivering your new phone into a pond.
Long and short of it we won.
The video produced by Scape for the even it available to view below.

Davinici 3D Printer

Been looking at getting a 3D printer for ages and finally bite the bullet after reading a lot of good reviews about the Davinici Pro printer. Able to print with its own proprietary filament as well as third parties. It’s got a nice self levelling system and heated build plate enabling it to print both ABS / PLA and PETG.

Had some very good results early on but after a lot of reading online I decided to stop using the supplied masking tape as a way to fix prints to the build plate, and buy the reasonably expensive BuildTak stick on surface. This was far better in fact at times too good requiring a large amount of force to get the prints off!.

Below are some of my first prints.

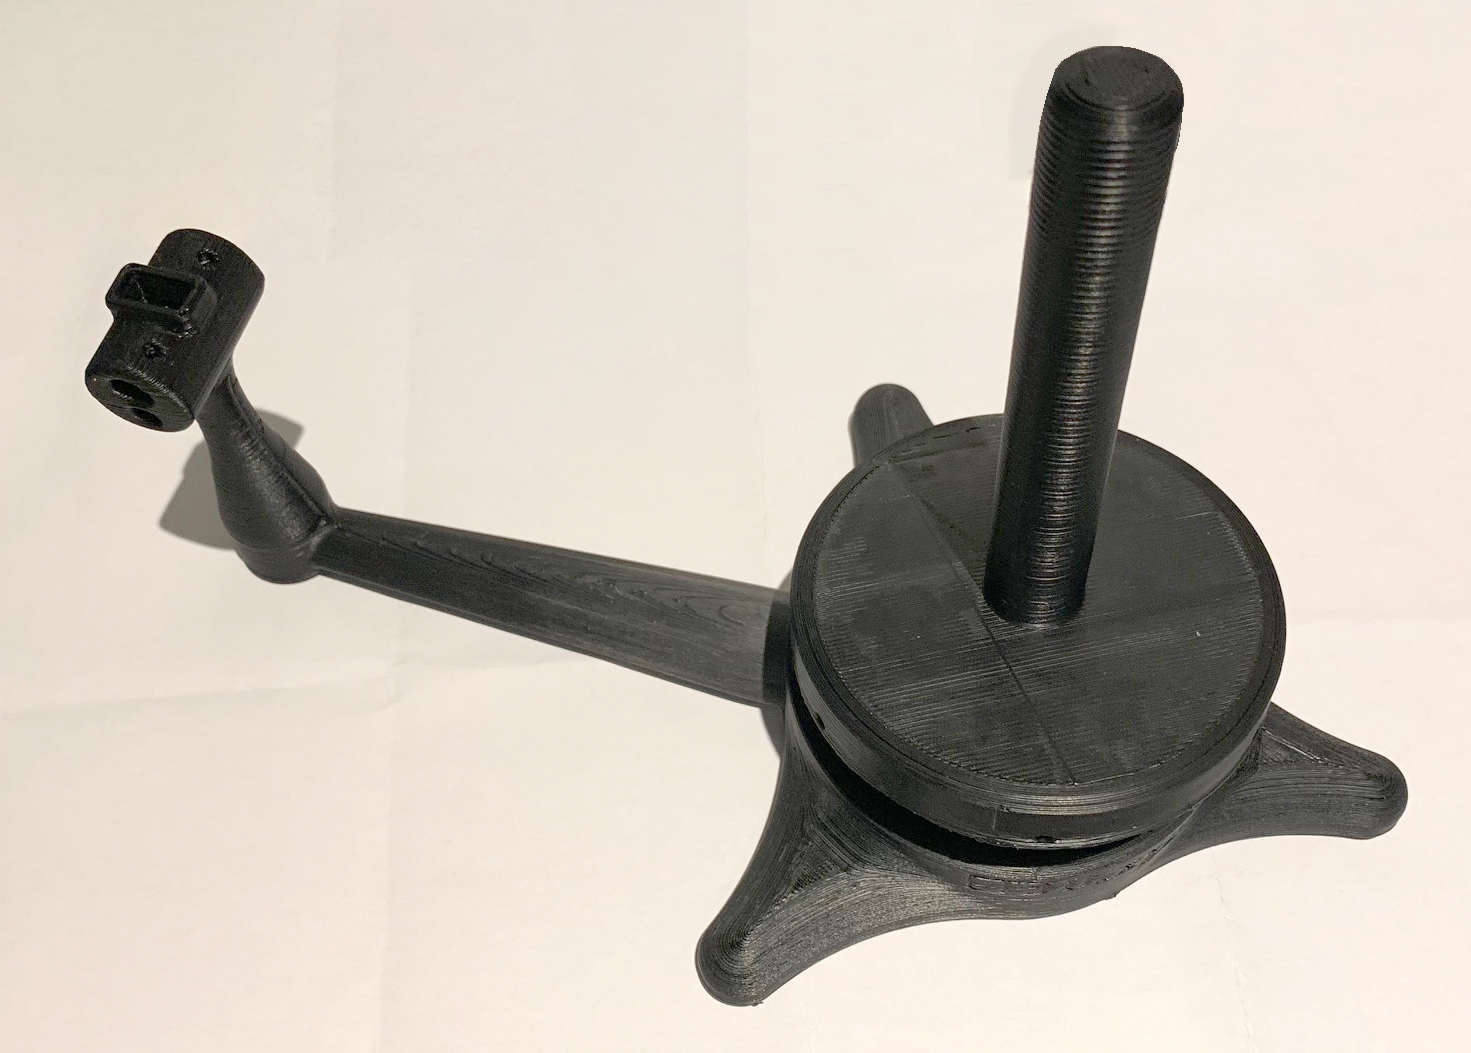
Filament spool holder, To feed 3rd party filaments into the printer, you can see it in use on top of the main Davinici Printer photo.

Filament Spool Holder

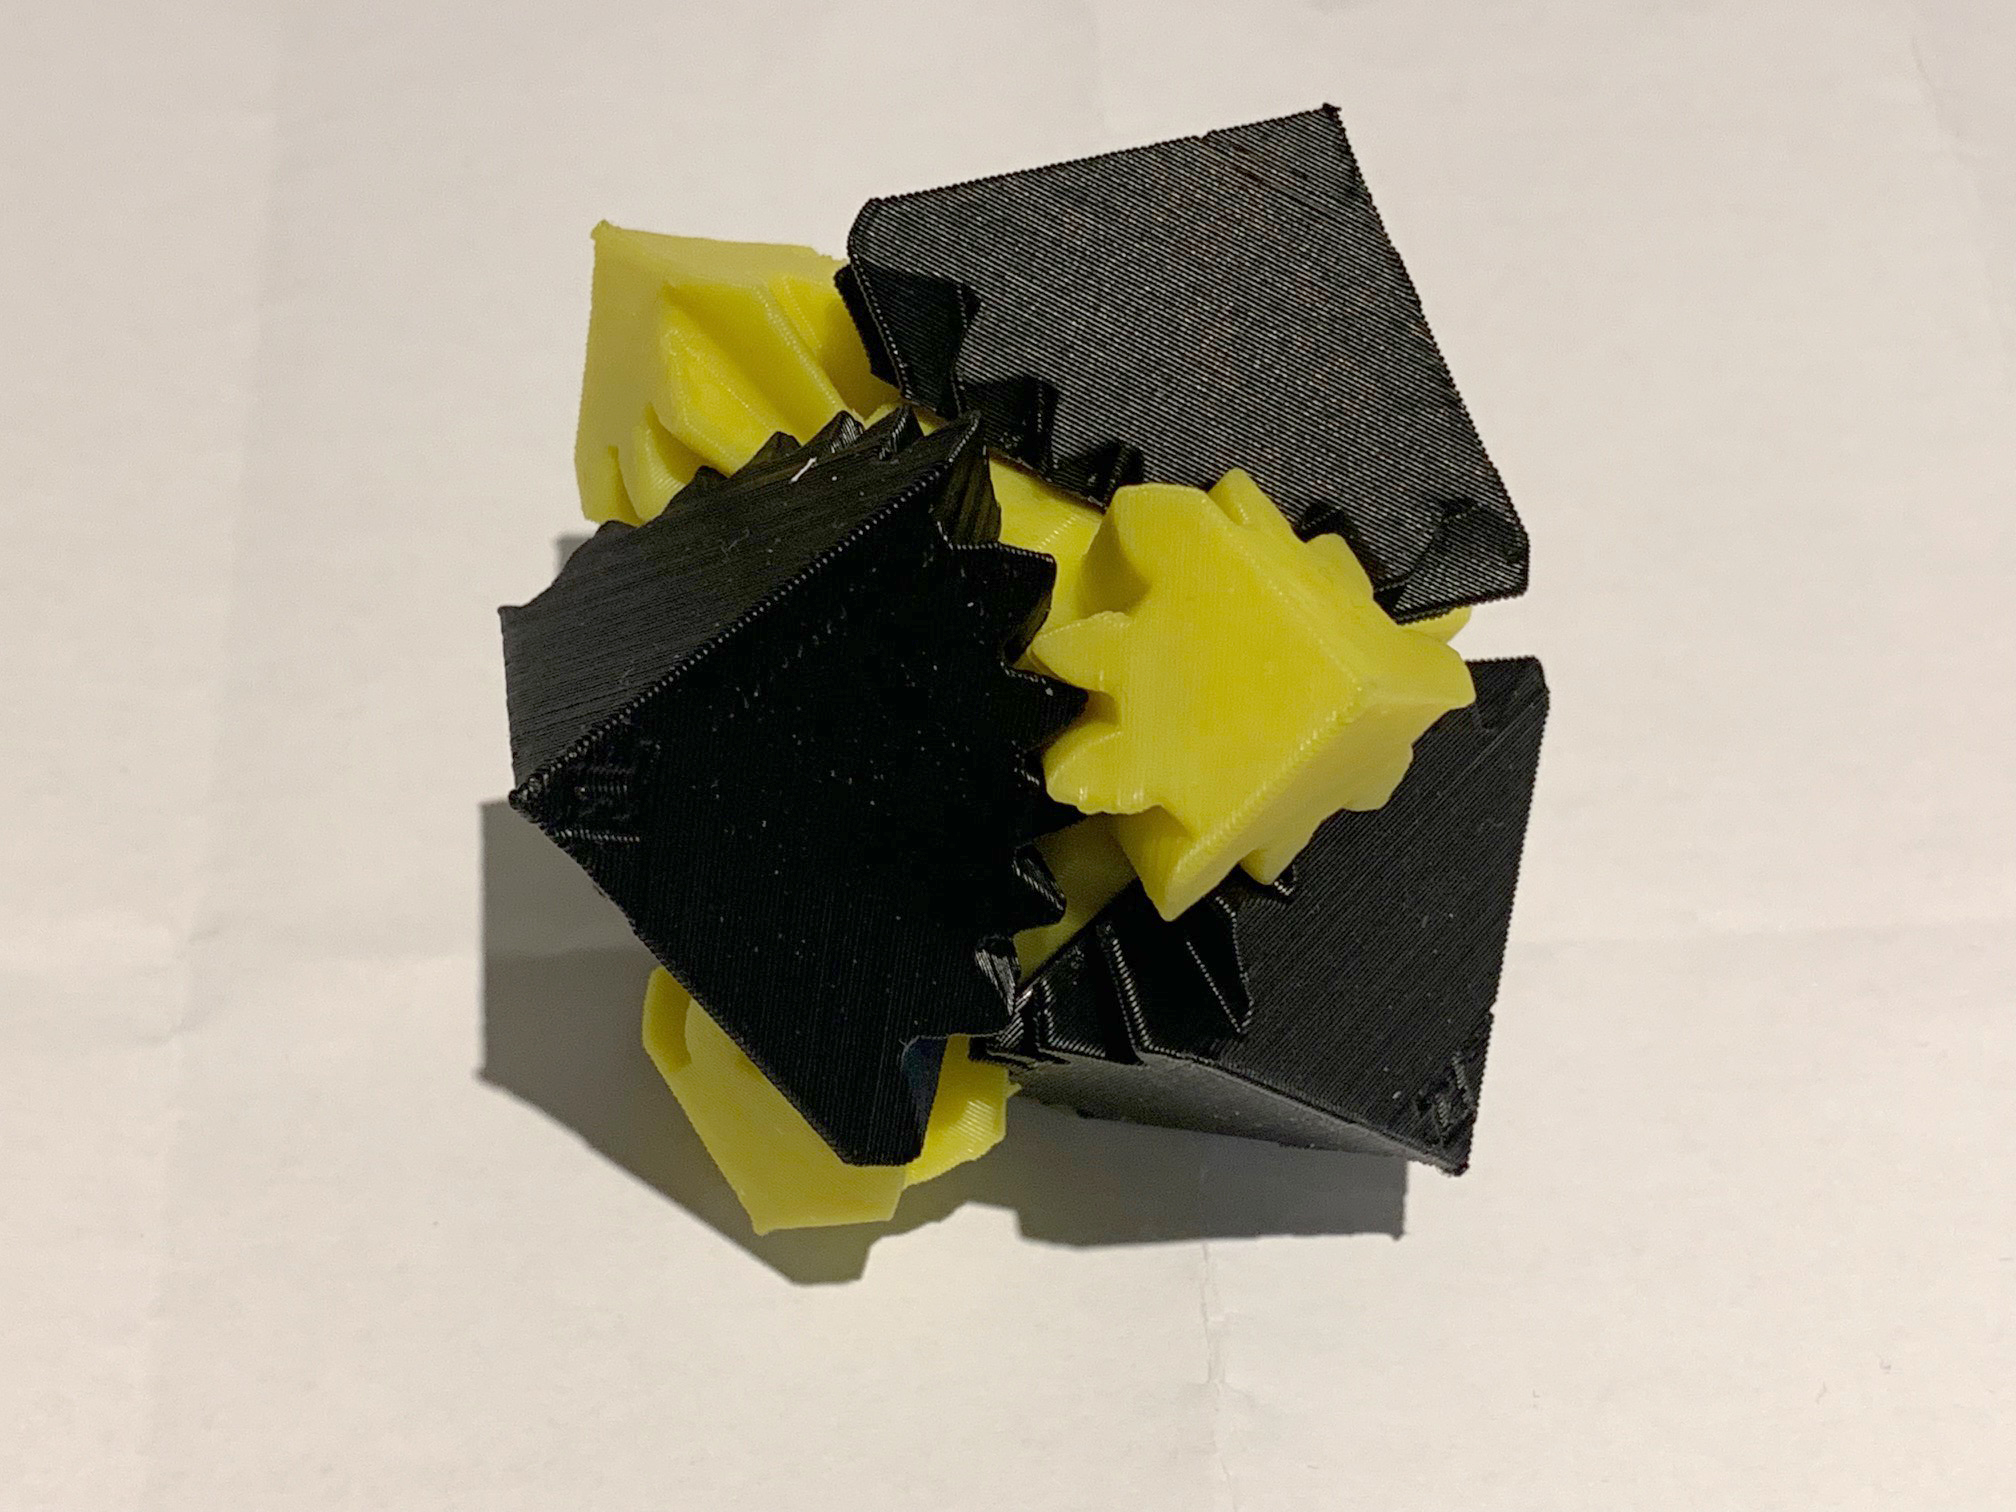
3D Cog Cube, Used as a test pint to check tolerances of the printer using 2 different filament colours.

3D Cog Cube

Go pro tripos attachment, For fixing the go pro to my tripod mount (Designed and Built by myself)

Go Pro Tripod Holder

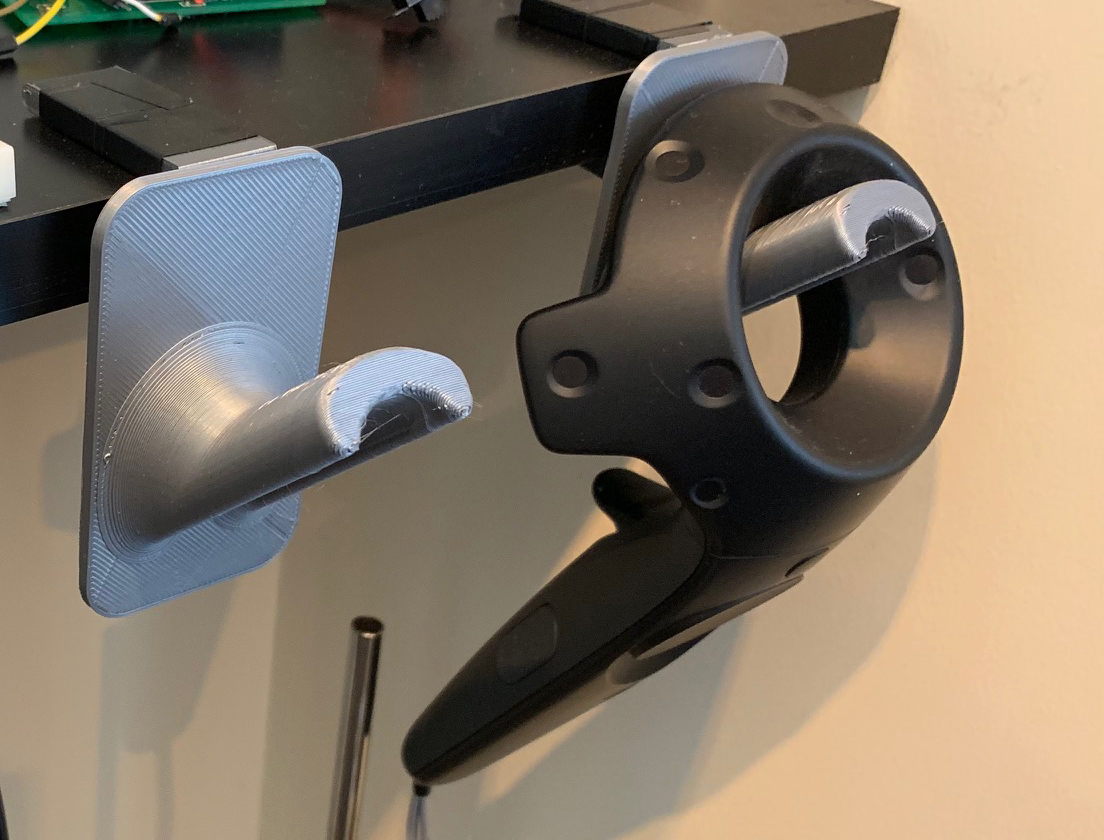
Vive controller holders, Designed by myself to save on shelf space.

Vive Controller Holder

Suit Case clips, I managed to lose on in transit ages ago rendering the case useless. So I used the remaining one shown top centre in the picture to recreate it in 3D and print some spares. Went through a few variations to improve the strength. But now have 3 spare ones to use.

Suitcase Clips


Magic Leap

This amazing new piece of tech arrived in the Inition office today thanks to one of our sales people pulling a few strings with his american contacts.  Only had a chance to try it on and check out some of the demos that come with it. The Robot shooter game is amazing, it scans the room and uses hand tracking to push buttons floating in mid air. Then using this data displays robots popping out of a portal in your wall and climbing over desks in the real world.  Angry birds seems a bit tame compared to that. I’ll give another update once we really get to experiment and build some prototypes with it.

Halloween window display

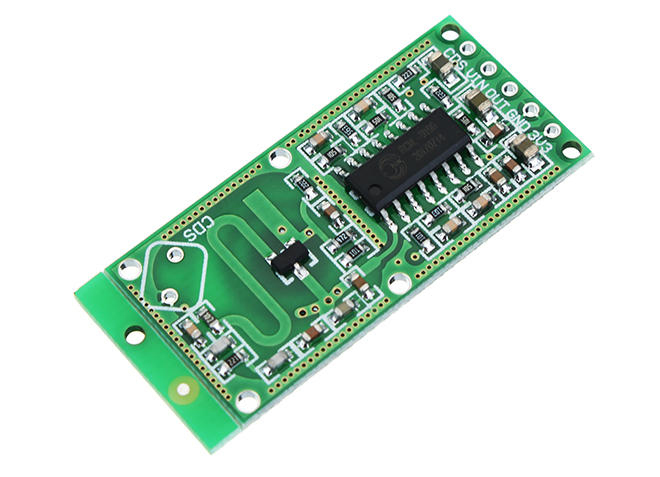
Just a quick job while working at Inition to set up a window display at the Inition office. Simple enough we wanted to trigger an animation that would display when people walked past the office. Had a go first using an Arduino using these microwave sensors. Had one each side of the windows on the inside.

microwave sensor

But turns out there actually too powerful and detect people moving in all direction from 5 meters away. So in the office that meant it could actually detect people in the floor above and the basement. So had to abandon the idea and try to build something that detected movement in a webcam. Managed to knock up something in Unity that meant I could target certain area of the webcam feed and see how many pixels changed, thus detecting movement.

Webcam Area triggering

Final result is below, we also hooked up some very loud speakers pointing out of the basement window to try and scare people. But have come to the conclusion that people in London are just not that easy to scare. Even when someone screams from a basement, they barely raise an eyebrow.

Inition window